2021.5.29

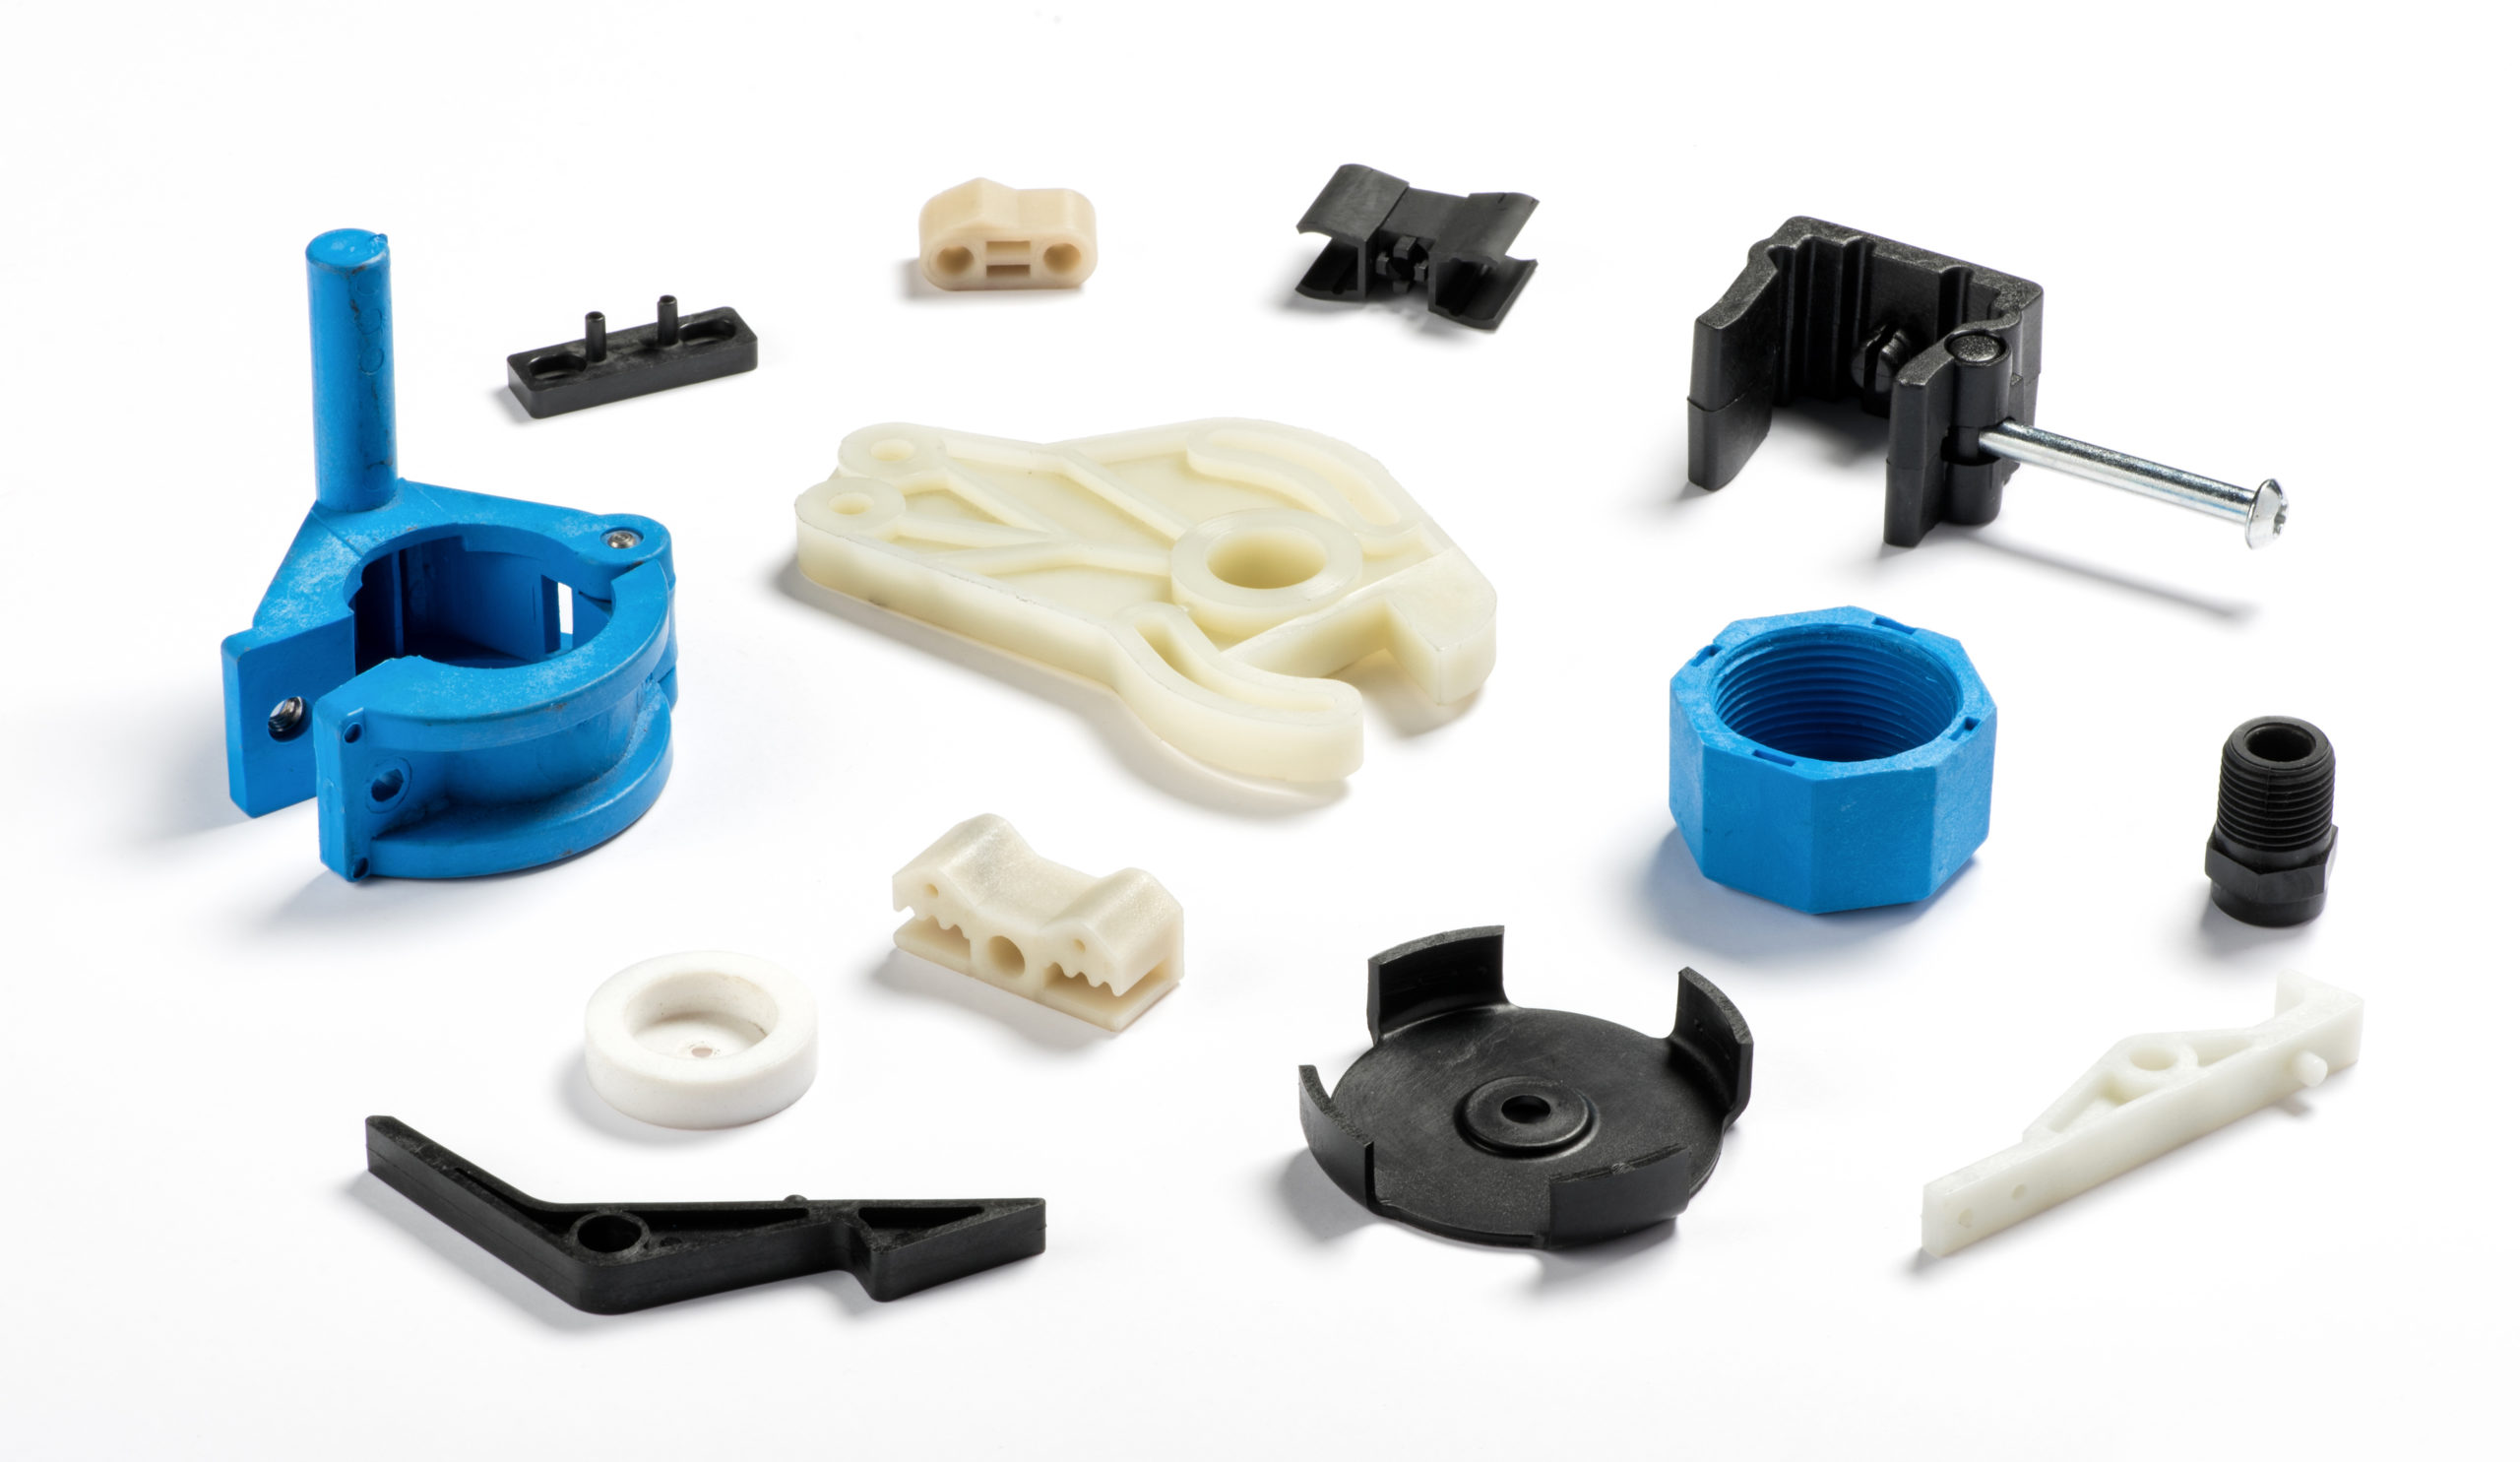
Injection molding is the number one way to make plastic parts in mass production and these are some of the best practices when designing for injection molding and how to get the most of this awesome process.
Draft
Draught is angled wall sections. the reason you need to have draught on an injection molded part is that if you don’t have draught, the part will not come out of the mold smoothly and it’ll leave scrape marks. also, if your part is textured or has some kind of geometry, if it’s not drafted, it’ll rip it right out. if a part is not drafted and you were to mold it, it would scrape the inner and outer features, and then this coring in the rear that the part would not come out, it would interlock. when the part is drafted at one degree, it can come out of the mold easily.
Shrinkage
Everything but liquid crystal polymer shrinks. if a plastic shrinks at twenty thousand inches per inch, when a four inches long mold is made, this mold cavity needs to be eighty thousand bigger than the actual part. so it shrinks down to the size you want. look at your shrink rates you can find a lot of this information on MatWeb, they gave you good shrink rate values or at least an idea. check with your supplier of the material, if you have one to find out what kind of shrink rates you need to use. generally plastic always shrinks to its center, mass, or its centroid. but some plastics do shrink linearly. sometimes, you run into a part that may shrink weirdly, you’ll have a symmetrical part.
Die-Lock
to check for die-locked holes, run a draft analysis. die-locked holes require additional slides to eject, adding significant cost. place holes on the same plane to avoid die-locking. parts that are not die-locked cost a fraction of parts that are die-locked. and the parts can be molded on an open and closed tool, they would be three times as cheap as the die-locked part.
Parting Line
You need to imagine how the part will split when the mold opens. Drew the parting line right after the radius, do not put the parting line where it may cause a die lock, put it beyond the radius is the best way to go.
Annular Snap
At a cross-section of the part, when you had some features on the outside of the tool, you would need a slide or lifter to get the geometry out of the way. with a particular annular snap, if you need it to pop out of the slide or the cavity of the core, there is a way to do this: it depends on what type of material using, you can’t do this with glass field material or hard materials like polycarbonate, it’ll shear this area off, but if you have something softer like nylon, PBT, polyethylene, high-density polyethylene, you can get this feature to snap out of the cavity core block.
Pass-Through Coring
if a part has an undercut, some type of latch, or locking feature, to mold this part, you would have to have some type of lifter that pulls this undercut as the part ejects, with pass-through coring, you can do the same feature by cutting out the bottom and have a piece of steel that comes up through the bottom, it would mold the same feature and all you have is a slot on the other side. to mold this same mold with this feature, you’ll save thousands of dollars. because you wouldn’t have to have that lifter there to pull that same feature out.
Coring & Wall Thickness
When you don’t have coring inside of your part, you have an uneven wall thickness, and you also have uneven cooling within the part as well. this will lead to getting sink marks within the part. and because you have more material, there’s more volume of material to cool and therefore you have an increased cycle time. the more cycle time the more it will cost you. you also have differential shrinkage, because the part will have a different shrink rate at the thick sections and your part will go out of tolerance. coring improves the weight and cost of the material, reduces volume, and cycle time, and has more of an even wall thickness throughout.
 How To Reduce Injection Molding Costs | 9 Money-Saving Tips
  Guide to Injection Molding Parting Line: What is It, How to Design & Types of Parting Line
  Parting Lines In Injection Molding – Tips To Choose Parting Line Right For Mold Design
  8 Injection Molding Defects & Troubleshooting Tips – How To Fix Common Injection Molding Issues