When it comes to mold making, the type of resin you use is super important. Resin is the heart of the molding process, as it determines the quality, durability, and appearance of the final product. Whether you’re making intricate jewelry, custom keychains, or decorative home items, choosing the right resin ensures your creations turn out just as you imagine. It’s not just about the end look, though. The right resin can make the crafting process smoother and more enjoyable.
What are resin molds?
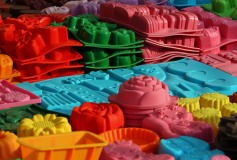
Resin molds are fantastic tools for crafting! They come in various shapes and sizes, allowing you to create unique items. You pour the liquid resin into these molds. Then, it hardens into the mold’s shape. It’s an easy process, perfect for beginners. You can add colors, glitter, or even small objects into the resin for extra flair. These molds are reusable, making them cost-effective. They’re ideal for making jewelry, decorations, and more. The options are virtually limitless with a little imagination.
What are resin molds used for?
Resin molds are a crafter’s delight, offering endless possibilities to create unique and beautiful items. They are essentially forms into which you pour liquid resin. Once the resin hardens, it takes the shape of the mold. Let’s see the diverse and exciting uses of resin molds.
Jewelry Making
One of the most popular uses for resin molds is in jewelry making. You may make bracelets, necklaces, earrings, and other items. The beauty of resin jewelry lies in its ability to encapsulate various items like flowers, glitter, or even small photos, creating personalized and unique pieces.
Decorative Items
Resin molds are perfect for crafting decorative items. Think of coasters, paperweights, and wall hangings. You can embed different objects or use various colors to create eye-catching pieces that add a special touch to any space.
Art Projects
Artists often use resin molds to create 3D elements in their artwork. These can range from small embellishments to large, stand-alone pieces. The clarity and gloss of resin add a unique dimension to art projects.
Custom Keychains
Custom keychains are a fun and practical use of resin molds. You can make them in various shapes and sizes, embedding different designs or personalizing them with names or messages.
Making Home Decor
Resin molds are fantastic for crafting home decor items. Lamp bases, vase forms, or even furniture inlays can be created using resin molds. These items not only look stunning but also have a high durability.
Creating Souvenirs and Gifts
Resin crafts make wonderful souvenirs and gifts. You can create custom pieces that hold a special meaning, like encapsulating a piece of a wedding bouquet or a baby’s first haircut.
Educational Tools
Resin molds are used to create educational tools as well. You can embed objects like insects or leaves in clear resin for scientific study or make educational models and diagrams.
Encasing Memorabilia
Resin is perfect for preserving memorabilia. Whether it’s a concert ticket, a coin collection, or sports memorabilia, encasing these items in resin keeps them safe and makes for an attractive display.
Making Functional Items
Resin molds can also be used to create functional items like buttons, knobs for cabinets, or even mobile phone stands.
Crafting Unique Accessories
Finally, resin molds allow you to craft unique accessories like belt buckles, bag tags, and even eyewear.
Resin molds are incredibly versatile tools that can turn simple resin into stunning, functional, and personalized items. Whether you’re a professional artist or a DIY enthusiast, the possibilities with resin molds are almost endless. They open up a world of creativity, allowing you to bring your ideas to life in a beautiful, tangible form.
The Simple Steps To Casting Resin In Silicone Molds
Casting resin in silicone molds is a fun and creative way to make personalized items. Let’s see the simple steps to get you started on this exciting journey.
Step 1: Gather Your Materials
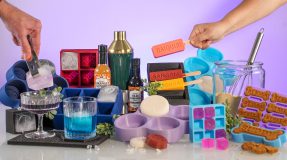
First, gather all the necessary materials. You’ll need a silicone mold, casting resin, a mixing cup, stir sticks, gloves, and any decorations like glitter or dried flowers you want to embed.
Step 2: Prepare Your Work Area
Choose a well-ventilated area for your work. Cover your workspace with wax paper or a silicone mat to protect the surface. To keep your hands safe and clean, put on gloves.
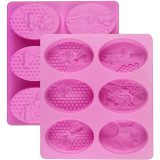
Step 3: Select Your Silicone Mold
Pick a silicone mold that suits your project. Silicone molds come in various shapes and sizes, offering lots of creative possibilities.
Step 4: Mixing the Resin
Read the instructions on your resin kit carefully. Most resins are two-part formulas, requiring you to mix a resin and a hardener. Pour the resin and hardener into a mixing cup in the ratio recommended by the manufacturer.
Step 5: Stir the Resin Mixture
Stir the mixture slowly and thoroughly for the time specified in the instructions, usually around 3 to 5 minutes. Make sure to scrape the sides and bottom of the cup to mix it well.
Step 6: Let the Resin Rest
After stirring, let the resin sit for a few minutes. This allows air bubbles to rise to the surface and pop, ensuring a clearer final product.
Step 7: Add Color or Decorations
Now’s the time to add any colorants, glitter, or decorations to your resin. Stir them gently into the mixture.
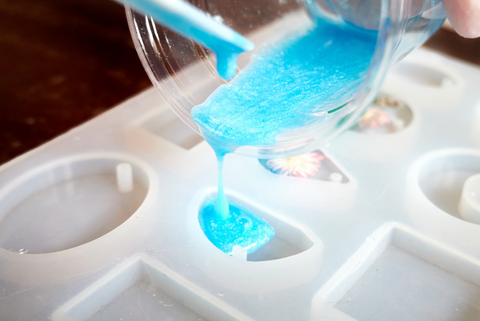
Step 8: Pour the Resin into the Mold
Slowly pour the resin into your silicone mold. Fill it up to the desired level. Be careful to pour slowly to avoid creating more air bubbles.
Step 9: Remove Air Bubbles
If you see air bubbles on the surface after pouring, you can remove them by gently blowing over the surface or using a heat gun held a few inches away.
Step 10: Add Layers or Embed Items
If you’re embedding items like flowers or photos, wait until the resin is slightly tacky. Then, gently place your items into the resin. If you’re doing layered pours, wait until the first layer is semi-solid before pouring the next.
Step 11: Cure the Resin
Leave the resin to cure. The curing time can vary based on the product, but it’s usually 24 to 48 hours. Don’t move the mold during this time.
Step 12: Demold Your Creation
Once the resin is fully cured, gently flex the silicone mold to release your item. If it’s sticking, gently pull the edges of the mold away from the resin.
Step 13: Finishing Touches
After demolding, you may need to sand the edges or polish the surface for a smooth finish.
Step 14: Enjoy Your Creation
Congratulations! You’ve successfully cast resin in a silicone mold. Now you can enjoy your handmade item or gift it to someone special.
Casting resin in silicone molds is not just a craft; it’s an enjoyable experience that allows you to express your creativity. Each step brings you closer to creating something unique and beautiful.
What is the best resin to use for molds?
Choosing the best resin for molds is crucial for getting the results you want. According to moldplasticinjection.com, epoxy and polyurethane resins are top choices, each with its unique benefits.
Epoxy resin is a favorite for many crafters. It’s known for its clarity and strength, making it ideal for projects where a clear, glossy finish is desired. Epoxy resin is perfect for jewelry, coasters, and art projects. It cures hard, ensuring your creations are durable. Also, it’s relatively easy to work with, even for beginners.
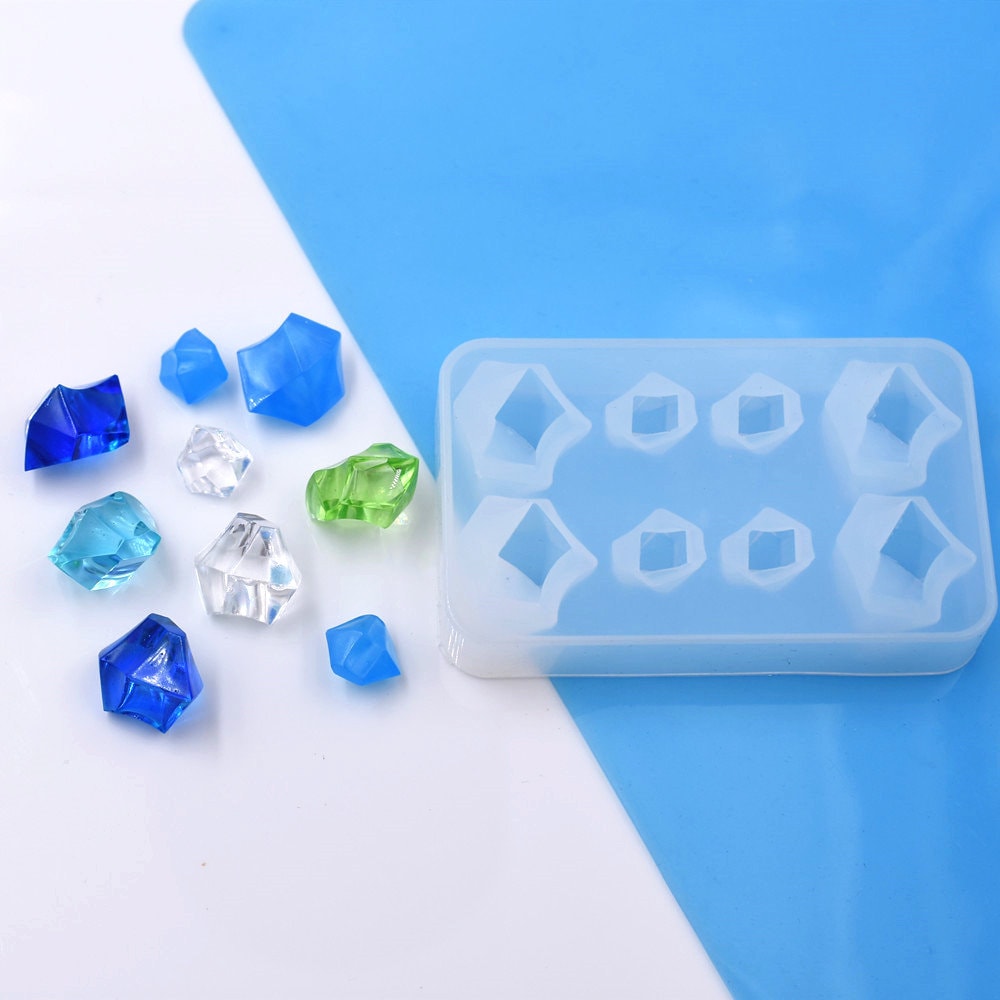
Polyurethane resin, on the other hand, is a bit more flexible in terms of processing. It’s great for more intricate molds because it can capture fine details beautifully. This resin sets quicker than epoxy, which can be a big plus if you’re working on a time-sensitive project. It’s also a bit more resistant to heat and impacts, making it suitable for items that might face tougher conditions.
Both types of resin have their place in mold making. Your choice depends on your project’s specific needs. Do you need crystal clear finishes, or are you capturing intricate details? Epoxy works wonders for the former, while polyurethane is the go-to for the latter. Check out moldplasticinjection.com for more detailed information and tips on working with these resins.