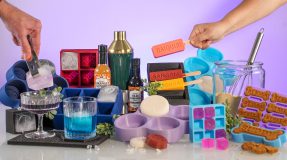
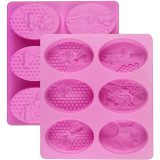
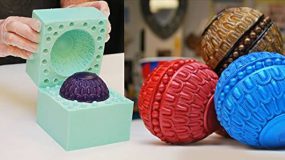
Silicone molds changed the landscape for creative types and do-it-yourselfers. Whether you’re baking, crafting, or making unusual soap forms, there are many possibilities if you create your own silicone molds. In this practical guide, we’ll walk you through the steps in a language anyone can understand, ensuring you grasp the art of making silicone molds without getting lost in the technical jargon.
Getting Started
Creating silicone molds is easier than you think. Gather your materials: silicone rubber, a mixing container, and a stirring stick. Equip yourself with tools such as a mold box, mold release, and the object you want to mold. Let’s begin with the process now.
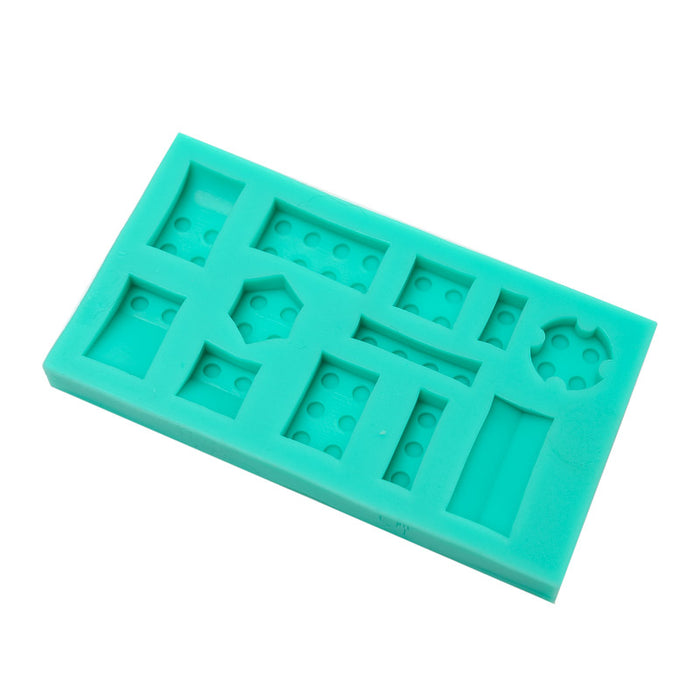
Preparing Your Workstation
Before you embark on your mold-making journey, ensure your workstation is clean and well-ventilated. Think of it as setting the stage for your mold-making masterpiece.
Securing Your Object
Secure your object in the center of the mold box. This is your time to play director, placing your object in a way that steals the spotlight once the mold is complete.
Mixing the Silicone
Now comes the fun part—mixing the silicone. It’s like preparing a cake batter; just follow the instructions on the silicone rubber packaging. Stir it slowly to avoid introducing air bubbles; we want smooth mold, not a bubbly disaster.
Pouring the Silicone
With your silicone mix ready, it’s time to play the pour master. Pour the silicone over your object in the mold box, ensuring it covers every nook and cranny. This is the point of magic.
Waiting Game
Patience is a virtue, especially in mold-making. Let the silicone cure; it’s like waiting for a masterpiece to dry on a canvas. Once it is cured, your silicone mold is ready to steal the show.
Demolding
The moment of truth is demolding. Gently remove the silicone mold, unveiling your creation. It is like opening a self-made gift.
Mold Care and Storage
Your silicone mold deserves some TLC. Learn how to care for and store your mold to ensure it’s always ready for an encore.
Experimenting with Colors and Additives
Now that you’re a mold-making maestro, why not add a touch of flair? Experiment with colors and additives to make your creations pop.
Troubleshooting
Every artist faces challenges. Learn to troubleshoot common issues like air bubbles or uneven curing, ensuring your molds are always show-ready.
Taking It to the Next Level
Ready to level up? Find out advanced techniques for making complex molds. It’s like going from crafting basics to artisan mastery.
Frequently Asked Questions
Can I reuse silicone molds?
Yes, silicone molds are durable and can be reused many times.
How do I clean my silicone mold?
Simply wash with mild soap and water, avoiding abrasive materials, to maintain the mold’s integrity.
What objects can I use for molding?
Almost anything! From small trinkets to larger objects, let your imagination run wild.
Can I speed up the curing process?
It’s best to follow the recommended curing time to ensure the mold sets properly. Patience pays off!
How do I prevent air bubbles in my molds?
Mix the silicone slowly and tap the mold gently to release any trapped air. Smooth sailing for bubble-free molds!
Crafting your silicone molds is a journey worth taking. Enjoy the process, let your creativity flow, and mold your imagination into reality!
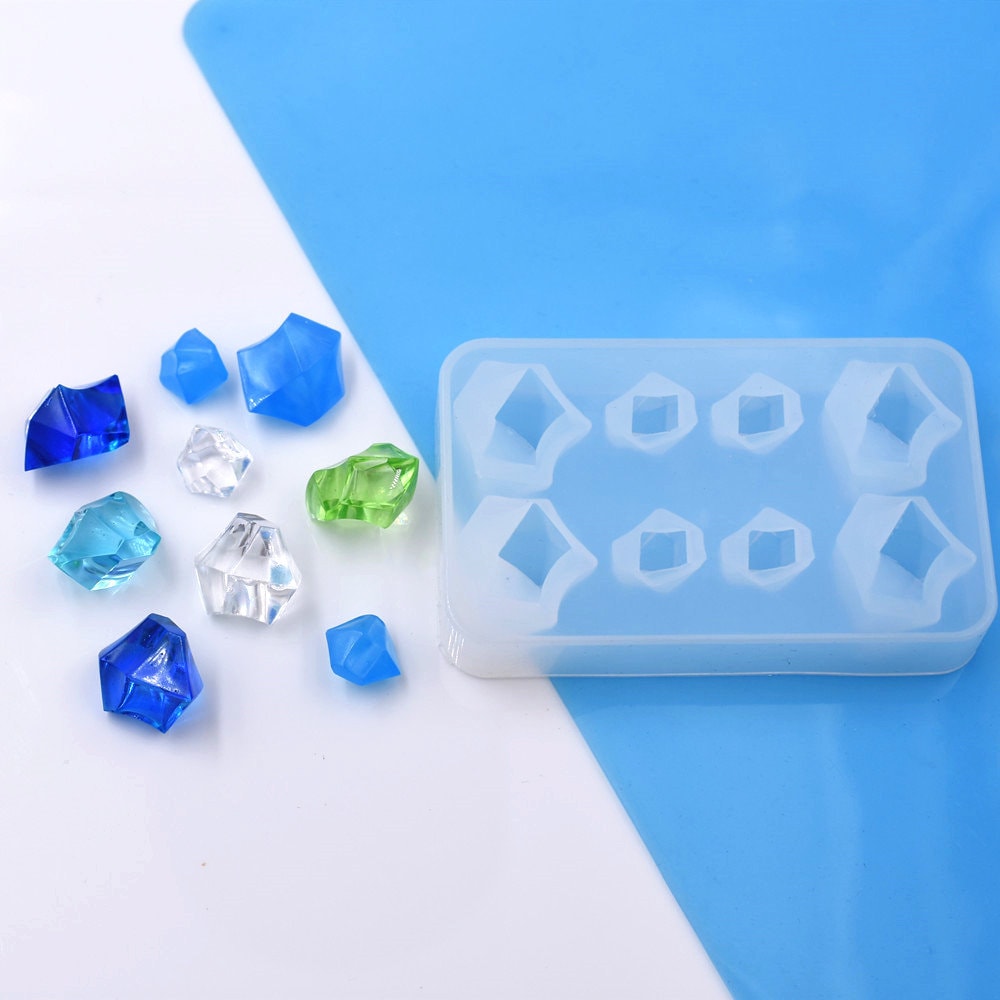
Lets know more
We know how to make silicone molds ourselves. and we know the process to make it easier, so we can now make it ourselves but there is more to know. We can learn more by doing it practically or we can research this on the internet. So for this, you can go to the MOLD PLASTIC INJECTION. On this website, you will learn more about this so go on and search for MOLD PLASTIC INJECTION.
Conclusion
Congratulations! You’ve now unlocked the secrets of making silicone molds. It’s a trip filled with the mind, testing fresh ideas, and the feeling of producing something entirely unique. Go forth now and create wonders!
