Hey there, crafty friends! Ever seen those amazing 3D shapes in soaps, chocolates, or candles and thought, “I wanna do that!”? Well, you’re in luck! Making your 3D silicone molds is not only fun but super easy. We’re about to dive into a step-by-step guide that’ll teach you everything you need to know. From mixing silicone to letting it cure, we’ve got all the bases covered. So grab your creative hat, and let’s get started on this awesome DIY project!
What is 3D silicone mold?
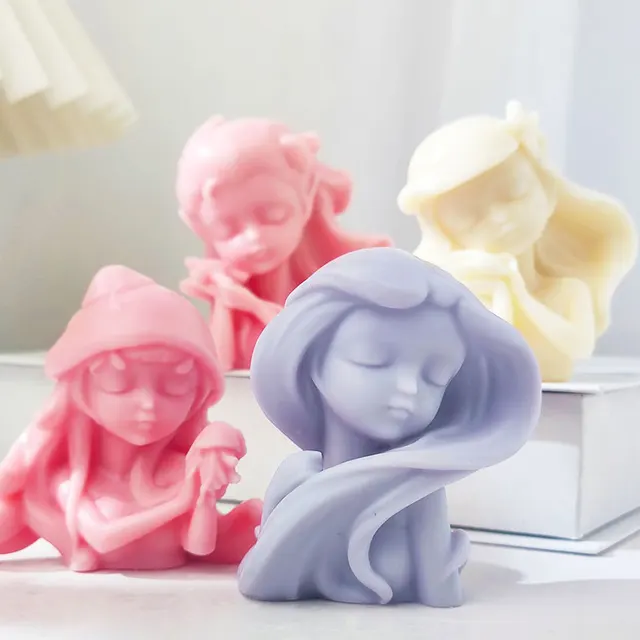
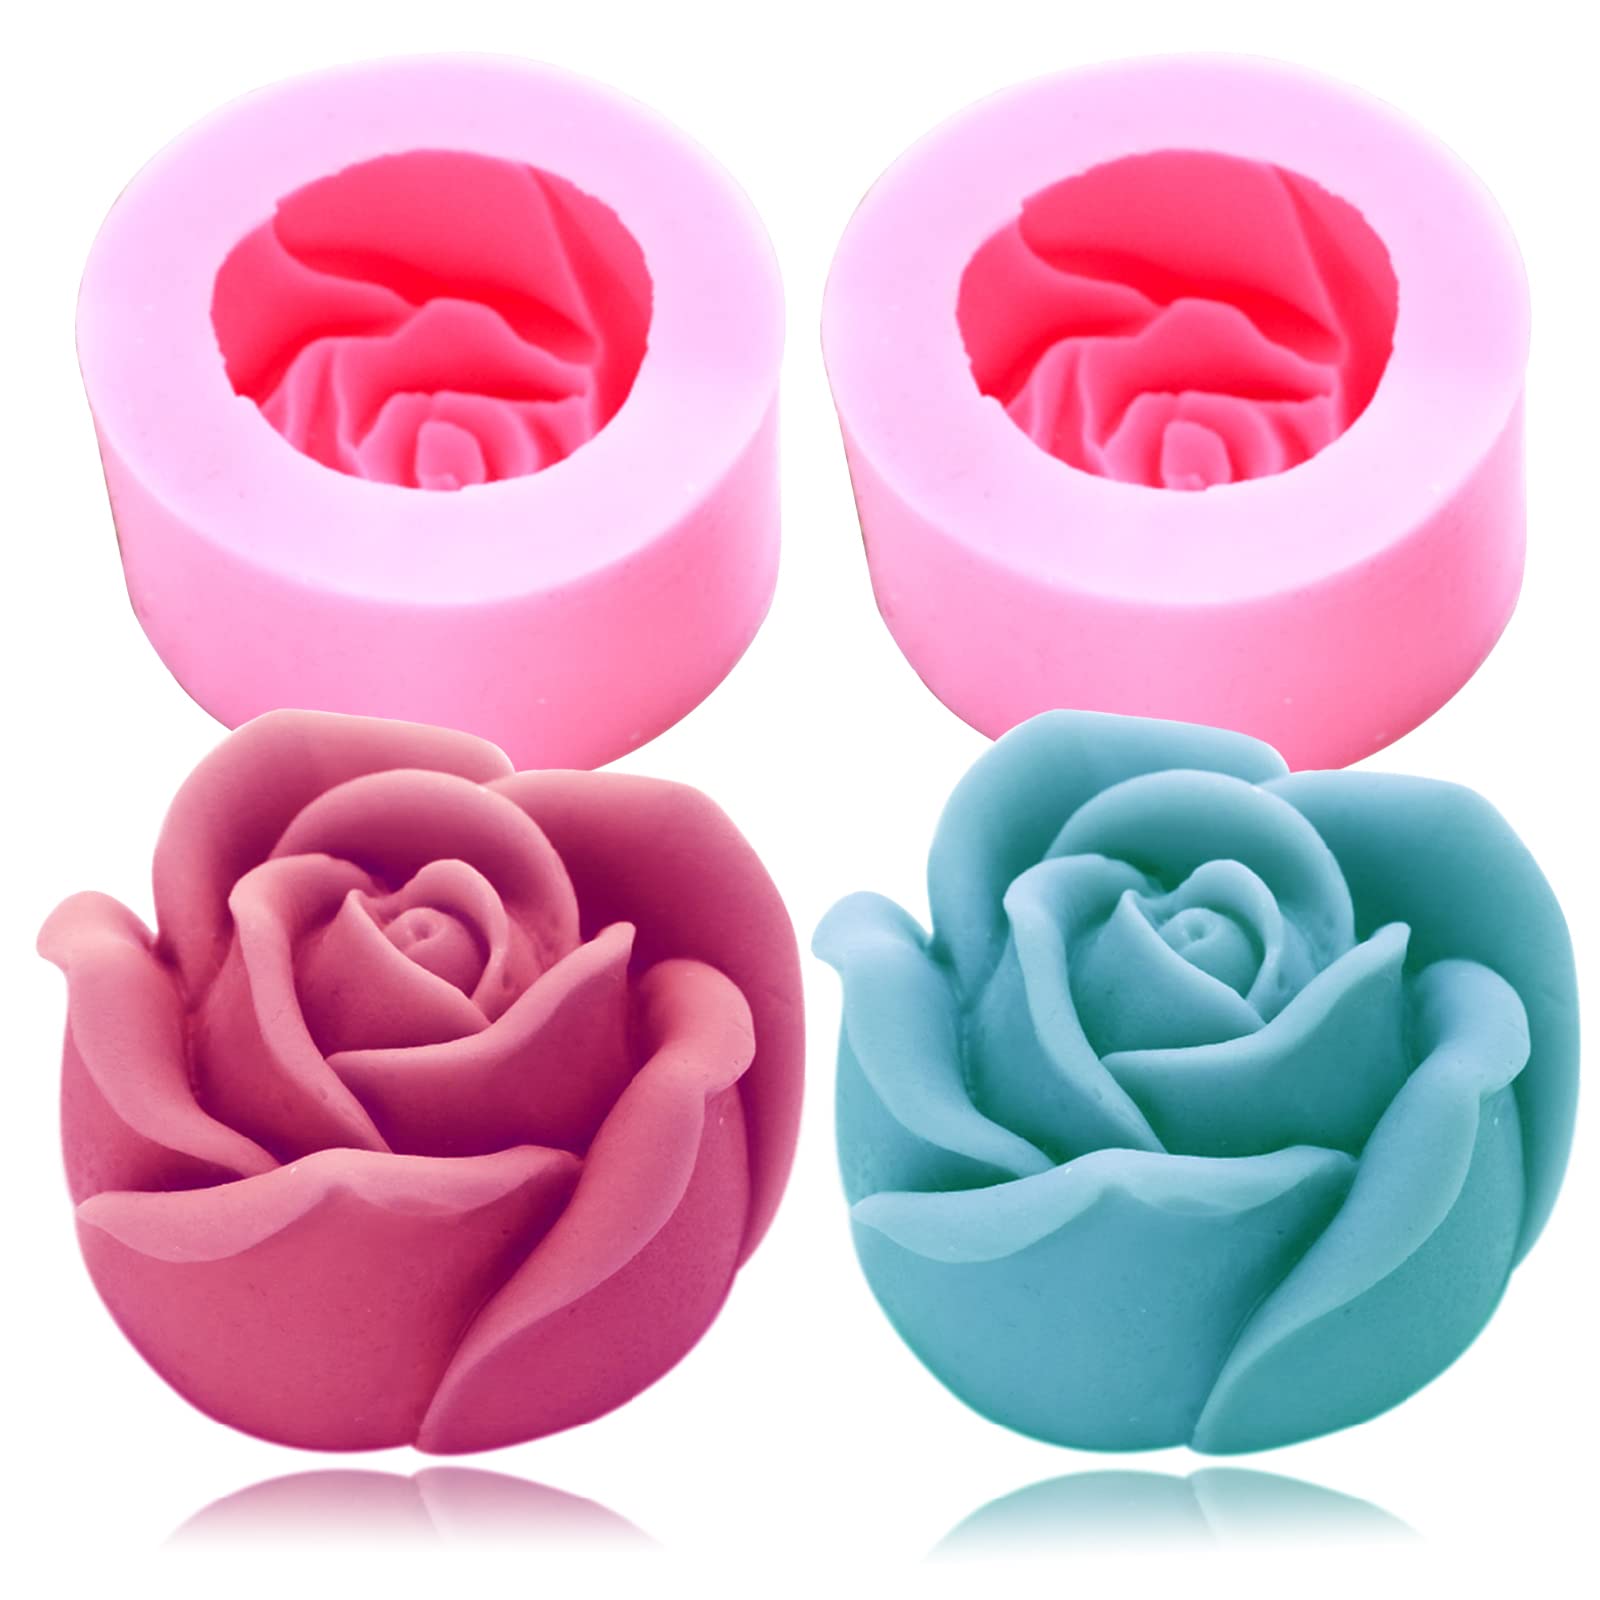
A 3D silicone mold is a super cool tool for shaping stuff. Made from flexible silicone, these molds let you create three-dimensional objects. You can use them for making candles, soaps, chocolates, and even resin crafts. The silicone material makes it super easy to pop your creations out once they are set. Plus, these molds are reusable and easy to clean. Just wash them with soap and water, and they’re good to go for your next project. So if you’re into crafting, a 3D silicone mold is a must-have!

What are 3d silicone molds used for?
Ever wondered what 3D silicone molds are good for? These nifty gadgets are super versatile. Let’s dig into some of the awesome ways you can use them.
Soap Making
First up, soap making! Pour melted soap into these molds and let it set. The silicone makes it super easy to remove your soap bars. You get professional-looking soaps every time!
Candle Crafting
Love candles? These molds are perfect for making your own. Just pour in the melted wax, let it cool, and voila! You’ve got a custom candle, shaped just the way you like.
Baking Fun
You can even use these molds for baking! From cupcakes to muffins, they make kitchen time a blast. And because they’re flexible, your baked goods pop right out.
Chocolate Molding
Who doesn’t love chocolate? Make your fancy chocolates for gifts or parties. Just pour melted chocolate into the mold and chill. Your friends will think you’re a chocolatier!
Ice Sculptures
Throwing a party? Use these molds for ice cubes with flair. Imagine a cocktail with a 3D ice skull or star! Your guests will be super impressed.
Resin Art
Resin artists, listen up! These molds are perfect for resin crafts. Create jewelry, paperweights, or even home decor items. Your creations will look like they came from a fancy store.
DIY Décor
Let your imagination run wild. Make your wall art, trinkets, or even holiday ornaments. These molds open a whole new world of DIY décor possibilities.
Clay Creations
Love working with clay? These molds can help you make intricate pieces. From cute animal shapes to complex patterns, they’re a game-changer.
Pet Treats
Yes, even your pets can benefit! Make homemade dog or cat treats using these molds. The affection from your animal companions will grow.
So there you have it! 3D silicone molds aren’t just a one-trick pony; they’re the Swiss Army knife of crafting tools. The possibilities are boundless, from baking to handicraft. Ready to get creative?
How to make 3d silicone molds?
Making your mold is easier than you think. Grab your supplies and let’s get started!
Step 1: Gather Your Supplies
You’ll need a few things:
- Silicone molding rubber
- Mixing cups and sticks
- The object you want to mold
- A mold box (you can use plastic containers)
- Gloves
Got everything? Awesome, let’s go!
Step 2: Prep Your Object
Make sure the object you’re molding is clean and dry. If it has any undercuts, fill them in with clay. This will make the molding process smoother.
Step 3: Create a Mold Box
Place your object in the middle of the mold box. Make sure there’s at least half an inch of space around it. This space is where the silicone will go.
Step 4: Mix the Silicone
Put on your gloves. Now, mix the silicone rubber according to the package instructions. Most types require equal parts of A and B. Stir until it’s completely blended.
Step 5: Pour the Silicone
Time to pour! Slowly pour the mixed silicone into the mold box. Start from one corner and let it flow around the object. This minimizes air bubbles.
Step 6: Tap and Remove Bubbles
Give the mold box a few gentle taps. This helps any trapped air bubbles rise to the surface. You can also use a toothpick to pop stubborn bubbles.
Step 7: Let It Cure
Patience is key! Let the silicone set as per the package’s curing time. This usually takes around 4-6 hours, sometimes longer.
Step 8: Test the Mold
After it’s cured, poke the silicone gently. If it’s firm and rubbery, you’re good to go. If not, give it more time.
Step 9: Demold
Carefully remove the silicone mold from the mold box. Then, gently take out your object. You should have a perfect 3D silicone mold now!
Step 10: Trim Excess
Use a pair of scissors or a craft knife to trim off any excess silicone. Make sure to do this carefully.
Step 11: Wash the Mold
Before using it, wash your new mold with soap and water. Rinse it well and let it dry.
Step 12: Get Crafting!
Your mold is now ready for action! You can use it for making candles, soaps, chocolates, or whatever your heart desires.
And there you have it, folks! You’ve just made your very own 3D silicone mold. Pretty easy, right? Now, go unleash your creativity and make some amazing stuff!

FAQs
Can I use 3D silicone molds for food?
You can! Just make sure the silicone is food-grade. This ensures it’s safe for making chocolates, cupcakes, or ice cubes.
How do I clean my 3D silicone mold?
Cleaning is super easy! Just wash it with mild soap and water. If there’s stubborn residue, you can use a soft brush to scrub it gently.
Can I put my silicone mold in the oven or microwave?
Yep, most silicone molds can handle heat. But always check the package for temperature limits. You don’t want to risk damaging your mold!
How long does it take for materials to set in the mold?
That depends on what you’re making. Soap and resin may take a few hours. Chocolates and ice usually set faster. Always read the instructions for the material you’re using.
Is it safe to use silicone molds for different types of projects?
Ideally, you’d have separate molds for food and crafts. Using the same mold for soap and chocolate, for example, is not recommended.


